
If you are wondering how to print an image across several sheets, the short answer is this: open the image (or convert it to a PDF), go to the print menu and look for the "Poster" or "Tile" option. There you choose how many sheets to split it into, for example 2 x 2 or 3 x 3, and the printer outputs each piece on an A4 sheet. After that, all you have to do is trim the margins and join the pieces together.
With this method you can make a poster for the children's bedroom at home, a big family calendar for the kitchen, a map for planning a trip or a chore chart, without going to a print shop. And all you need is ordinary paper and an everyday printer.
In this article I explain the methods that work on most computers and phones, what resolution the image needs so it doesn't look pixelated, how to join the sheets so the seams don't show, and the most common mistakes to avoid.
Before you start: final size, resolution and paper
Spending two minutes planning saves you paper and ink. Before you click "Print", decide what size you want the poster to be and check that the image can handle it.
How many A4 sheets you need for each size
This table is a rough guide. Bear in mind that most home printers leave a small blank margin and that the sheets overlap a little, so the result will be slightly smaller than the exact sum.
| A4 sheets | Layout | Approximate size | Roughly equivalent to |
|---|---|---|---|
| 2 | 1 x 2 | 30 x 42 cm | A3 |
| 4 | 2 x 2 | 42 x 59 cm | A2 |
| 9 | 3 x 3 | 63 x 89 cm | A bit more than A1 |
| 16 | 4 x 4 | 84 x 119 cm | A0 |
If you are unsure about the dimensions of each format, this guide to paper types and sizes for printing at home gives you the equivalents and the recommended weight.
Image resolution
When you enlarge an image, every pixel gets bigger. If the photo is small, the poster will look blurry. As a common-sense guide:
- For a 4-sheet poster (A2 size) that looks good up close, around 2500 x 3500 pixels is ideal.
- If the poster will be viewed from a metre or two away, you can settle for quite a bit less, because flaws are hard to spot from a distance.
- Images downloaded from social media or sent through messaging apps are usually compressed. Always look for the original file.
Which paper to use
Standard 80 gsm paper is fine for test prints and temporary wall charts. If you want it to last longer, paper of 100 to 120 gsm wrinkles less with ink and holds up better on the wall. For photos, matte photo paper hides the joins better than glossy.
Method 1: the poster option in your PDF reader
This is the simplest method and works on almost any computer, because most free PDF readers include a tiled printing feature.
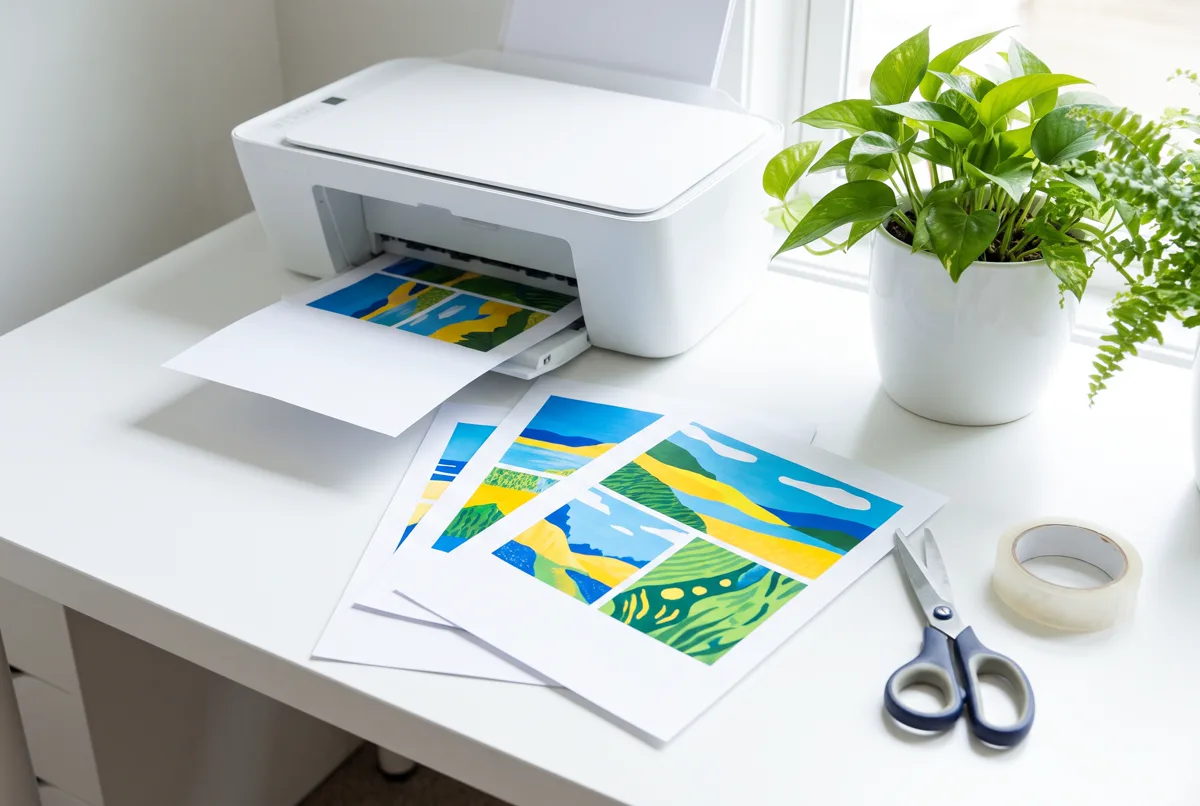
- Convert the image to a PDF, if it isn't one already. Open the image, choose "Print" and select "Save as PDF" or "Print to PDF" as the printer.
- Open that PDF with your usual PDF reader.
- Go to File > Print.
- In the page sizing and handling section, click "Poster".
- Adjust the tile scale: at 100% it prints at actual size; if you raise the percentage, the poster gets bigger and uses more sheets. The preview shows you how many.
- Tick "Overlap" and set about 0.5 or 1 cm. That way each sheet repeats a small strip of the image, which makes the pieces easier to line up.
- Turn on "Cut marks" and "Labels": they print guides for trimming and a number on each sheet so you know the order.
- Check the preview and click Print.
Before printing everything, do a test with a single page in draft quality. If you don't like the colours or the framing, you can fix it without wasting the rest of the paper.
If you are putting together a wall chart to organise the week at home, it can also help to have your planners in A4 format, which print without any fuss and can be placed next to the poster.
Method 2: from the printer settings
Many printers come with their own software that includes an option to split an image across several sheets. It doesn't depend on the file, so it also works for photos you haven't converted.
- Open the image and click Print.
- Go into the printer's "Properties", "Preferences" or "More settings".
- Look for the "Page layout", "Layout" or "Page" tab.
- Choose "Poster", "Tile" or "Tile printing" and select the arrangement: 2 x 2, 3 x 3, 4 x 4.
- If it appears, turn on the cut lines or overlap option.
- Check the orientation (portrait or landscape) and confirm.
If you can't find the option, your model may not have it, or you may be using the basic system driver. Installing the manufacturer's official software from its website usually adds these features.
Method 3: with a spreadsheet, a word processor or a free website
The spreadsheet trick
It's an odd but practical workaround when you have no other option:
- Open a new spreadsheet and insert the image.
- Switch on page layout or page break view: you will see the lines that separate each A4 page.
- Stretch the image from a corner (so it doesn't get distorted) until it covers as many pages as you want.
- Print the whole document. Each sheet will come out with its piece.
With a word processor
You can cut the image into parts with any photo editor, paste each piece onto a separate page with minimal margins and fit it to the width. It is more laborious, but it gives you full control over which part goes on each sheet.
Websites that split the image
There are free sites where you upload the photo, choose the number of sheets and get back a PDF ready to print. Some even turn the image into dots of different sizes, a very decorative effect for large walls. Before uploading personal photos, read the privacy terms carefully.
From your phone
On a phone, the poster option doesn't usually come built in. The easiest way is to use your printer's own printing app if it includes tiling, or to prepare the PDF on your phone with a splitting website and then send it to print. If you have never done it, here is how to print from your phone step by step.
While the printer churns out sheet after sheet, it's a good moment to take a short break and clear your head with something that doesn't require much thought.
How to join the sheets so the seams don't show
This is the difference between a homemade poster that looks homemade and one that looks great. You need scissors or, better, a craft knife and a metal ruler, sticky tape and a large surface.
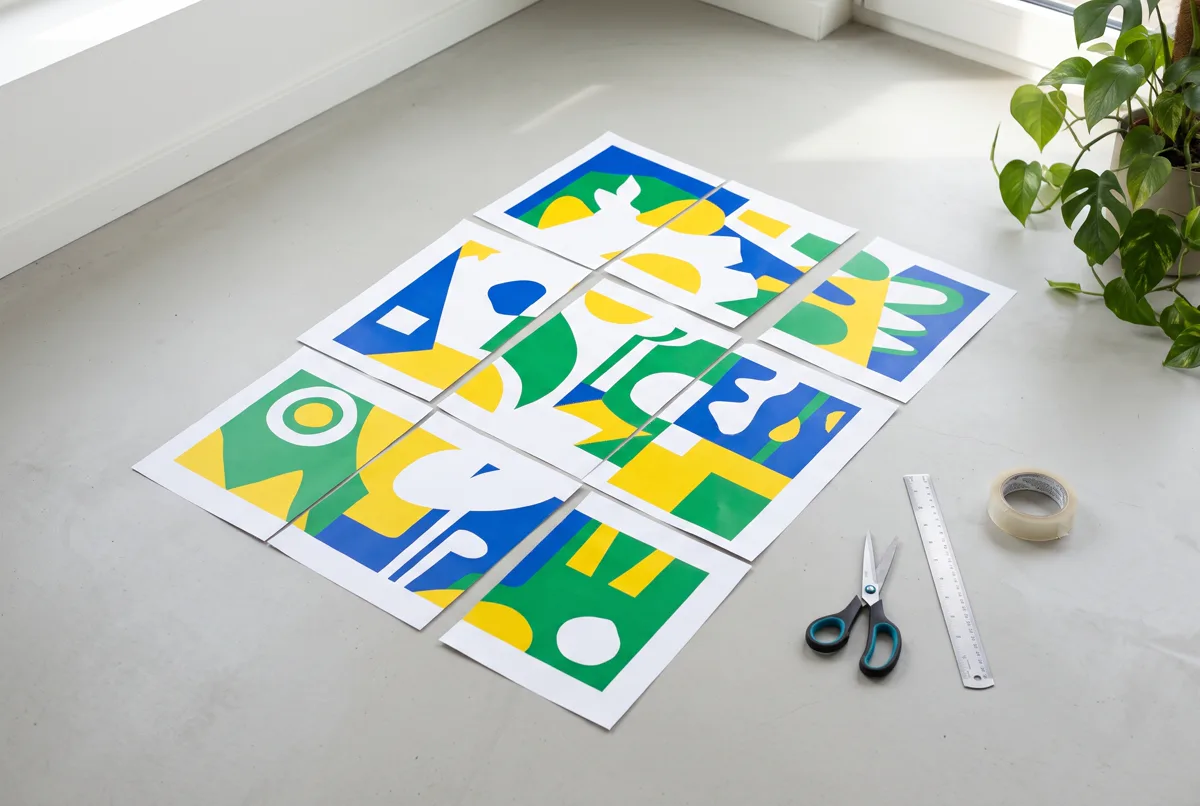
- Lay out the sheets on the floor or on the table according to their number or position.
- Trim the white margin only on the sides that will end up underneath the neighbouring sheet. For example, the right and bottom edges of each sheet. You leave the other sides for the overlap.
- Overlap each trimmed sheet on top of the next, matching up the picture. Use the cut marks or a clear line in the image as a guide.
- Fix it from the back with sticky tape along the whole seam. On the front, if needed, use very small pieces of matte tape.
- For a firmer finish, glue the whole thing onto card or foam board with glue stick, spreading it well right to the edges.
One tip: work row by row first (join the sheets in each row) and then join the rows to each other. That makes it easier to keep everything straight.
Common mistakes when printing a poster on several sheets
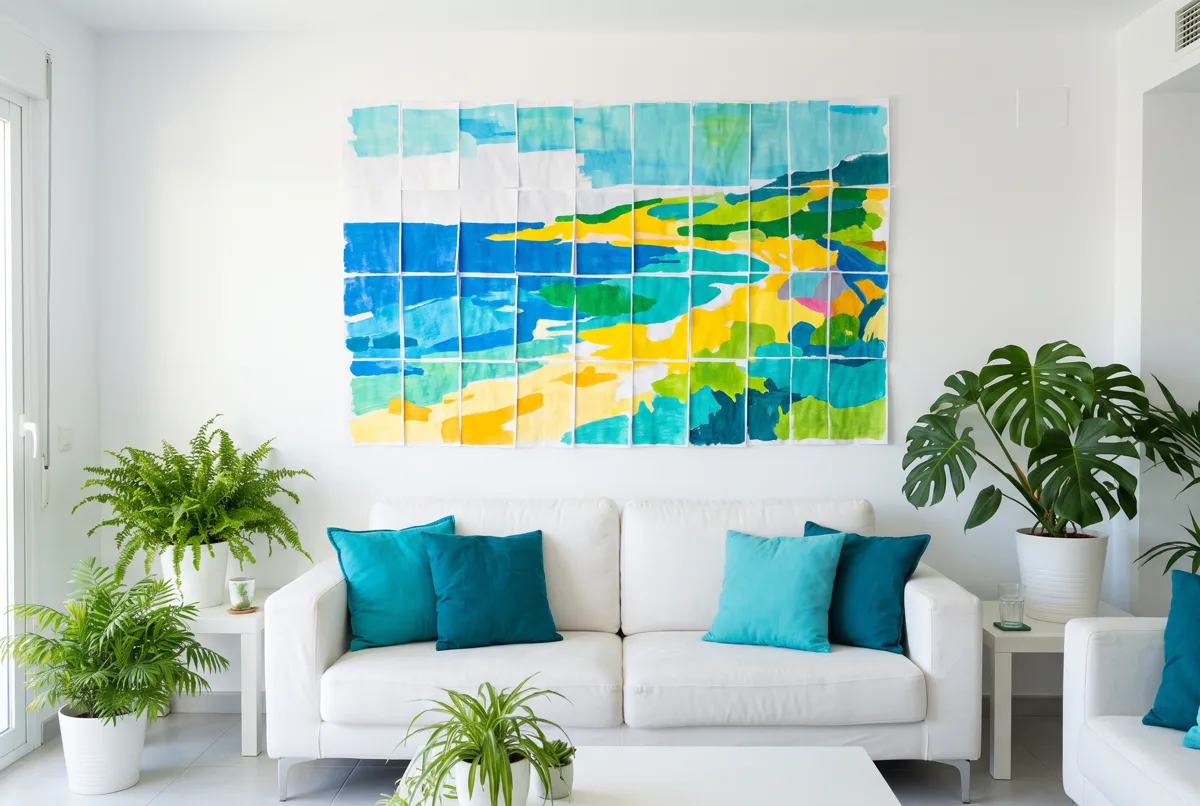
- Skipping the preview. It's the quickest way to end up with part of a face cut right at the join.
- Using a low-quality image. If you can already see the pixels on screen when you zoom in, it will be worse on paper.
- Forgetting the orientation. A landscape image printed in portrait wastes a lot of sheets.
- Printing at maximum quality for a temporary wall chart. For a calendar or a chore board, normal quality is enough and you use less ink. If you want to cut this kind of spending, take a look at these tips for saving money at home.
- Not leaving an overlap. Without one, any slight misalignment by the printer leaves a white line between sheets.
- Mixing different papers. A slightly different white between sheets is very noticeable once the poster is hung.
Ideas for using your poster at home
Besides decorating, a large poster can be a very useful organising tool, especially when you want the whole family to see it:
- Giant monthly calendar in the kitchen or hallway, with appointments, birthdays and everyone's activities.
- Chore board with the weekly rota. If you need help sorting out who does what, this list of household chores and how to share them as a family may be useful.
- Weekly menu in large print next to the fridge, so nobody asks what's for dinner. To prepare it, see how to use a weekly meal planner.
- Trip map for marking routes and stops with the children.
- Colouring sheets for the whole group: printing a drawing on 9 sheets turns a rainy afternoon into a shared project.
If you prefer ready-made planners, in the Canvartin: Planner and Appointments app you can print an A4 template, blank or already filled in with your details, and place it next to the poster as a companion.
Frequently asked questions
Can you print an image on several sheets without special software?
Yes. The poster option in a PDF reader or the printer's tile option comes already installed on most devices. The trick of stretching the image across a spreadsheet also works.
How many sheets do I need for an A2 poster?
Four A4 sheets in a 2 x 2 layout. The result will be a little smaller than a true A2 because of the margins and the overlap.
Why do I get white margins on every sheet?
Almost all home printers can't print right to the edge. That's why it's best to turn on the overlap and trim the margins before joining the pieces.
What do I do if the image comes out pixelated?
Look for a higher-resolution version or reduce the number of sheets. If it will be viewed from far away, sometimes it's enough to make it a bit smaller.
Can I do it from my phone?
Yes, although you usually need a printing app with a tile function or have to generate a split PDF beforehand with a free website.
How do I hang the poster without damaging the wall?
Glue it onto card or foam board and hang it with adhesive putty or double-sided strips that come off without leaving a mark.