
If you are looking for printable schedule templates to fill in, the most practical approach is to decide first what you want to organise (your week, your day hour by hour, the children's classes or the household chores) and then use a simple A4 template with clear time slots and room to write by hand. You don't need a complicated design: a well-thought-out table of days and hours gets you 90% of the way there.
A paper schedule has something a screen can't give you: you can see it at a glance, stick it on the fridge or the corkboard, and the whole family knows what's on without asking. Writing it by hand also makes you stop for a moment and really decide how to divide up your time.
In this article you'll see the most useful types of templates, how to choose yours, how to make one at home if you can't find one you like, how to fill it in so it actually works, and a few printing tricks so it looks good and lasts the whole week.
Types of printable schedule templates to fill in
Not all templates serve the same purpose. Before you print anything, think about which part of your life needs the most order right now.
Weekly schedule
This is the most versatile one. It has seven columns (Monday to Sunday, or Monday to Friday if you only plan working days) and rows by hour or by part of the day: morning, midday, afternoon and night. It works for work, study, after-school activities and appointments.
Daily schedule by the hour
A single column with the hours of the day, usually from 7:00 to 22:00. It's ideal for busy days, for working from home, or for when you have lots of small tasks and want to see where they fit.
School timetable
Designed for children: days of the week, class periods, break time and subjects. Many families add a row for after-school activities and another for what needs to go in the bag each day (PE kit, recorder, special snack).
Household chores schedule
Instead of hours, it assigns chores by day: Monday bathrooms, Tuesday kitchen, Wednesday laundry, and so on. If you want to go deeper, it will help to read how to organise your housecleaning by day.
Shift schedule
Very useful if someone at home works shifts or if you share the care of an elderly relative. It usually has a monthly or two-week grid with initials or colours for each person.
How to choose the template you will actually use
The best template isn't the prettiest one, but the one you fill in every week without dreading it. These are the questions worth asking yourself:

- How many things do you need to write down? If there are only a few, a schedule by blocks of the day is enough. If your day is full of appointments, you need one-hour or half-hour slots.
- Where will you put it? On the fridge it should be readable from a metre away. In a folder or planner, it can be more detailed.
- Who is going to read it? For children, go for big letters, colours and little information. For yourself, you can afford more boxes.
- Does it repeat every week? If your schedule is almost fixed, you can fill it in once and laminate it. If it changes, print a new sheet every Sunday.
This table gives you a quick guide:
| Template type | Who it's for | Recommended slots | Format |
|---|---|---|---|
| Weekly by blocks | Home with a stable routine | Morning, afternoon, night | A4 landscape |
| Weekly by hours | Work, study, competitive public-sector exams (oposiciones) | 1 hour | A4 landscape |
| Daily by hours | Days with lots of appointments | 30 minutes or 1 hour | A4 or A5 portrait |
| School | Primary and secondary school children | Class periods | A4 landscape |
| Household chores | The whole family | By day, no hours | A4 portrait |
If you can't decide between weekly and daily, start with the weekly one. It gives the most complete overview and is the easiest to keep up. In this guide to the printable weekly planner you'll find more ideas for using it every week.
How to create your own schedule template at home
If you can't find a template that suits you, making your own takes about 15 minutes.
With a spreadsheet
- In the first row, write the days of the week, starting from the second column.
- In the first column, write the hours (for example, from 8:00 to 21:00).
- Adjust the column widths and row heights so there is room to write by hand: about 1.5 cm high per row is usually comfortable.
- Add borders to all the cells and set the page to landscape orientation.
- Use the print preview to check that everything fits on a single A4 sheet.
With a word processor
Insert a table with 8 columns and 15 rows, fill in the header with the days and the first column with the hours. Leave the rest blank. It works just as well and is a little easier if you're not comfortable with spreadsheets.
By hand, with a ruler
It works perfectly well. If you use squared paper, the lines already help you keep the boxes straight. If you're interested, here we explain what each type of paper is for: graph, lined or squared.
And if you'd rather not design anything, you also have the option of a ready-made schedule on paper, or of printing one straight from your phone whenever you need it.
How to fill in your schedule so it works
A blank template doesn't organise anything on its own. What makes the difference is the order in which you fill it in.

- Start with the fixed things: work hours, school, meals, activities that don't move.
- Add the travel time: the journey to work or to an after-school activity also takes time, even if we forget to write it down.
- Place the important tasks: the food shop, the big laundry load, studying, the call you owe someone.
- Reserve free gaps: leave at least one slot a day with nothing in it. Something always comes up, and that margin stops everything from falling apart.
- Review it on Sunday: ten minutes to look at the coming week and adjust.
A simple example for a Tuesday in a family with children:
- 7:30-8:30: breakfast and leaving for school.
- 9:00-15:00: work.
- 15:00-16:00: lunch and tidying the kitchen.
- 17:30-18:30: the youngest's swimming lesson.
- 19:00-20:00: laundry and getting dinner ready.
- 21:30: free time.
If the schedule is for work or study, you'll find more detailed steps in how to make a weekly work or study schedule.
Colours with a purpose
Use one colour per person or per type of activity (work, home, children, rest). Three or four colours are enough: more than that confuses rather than helps.
And speaking of that free-time slot: it isn't a luxury, it's part of the schedule. A short, quiet break at the end of the day helps you get back to your routine with more energy.
Tips for printing your schedule templates
Good printing makes the schedule pleasant to use and helps it last the whole week.
- Paper: standard 80 gsm paper is fine, but if you're going to stick it on the fridge or use markers, paper of 100 to 120 gsm holds up better and doesn't show through. You'll find more details in paper types and sizes for printing at home.
- Size: A4 for the fridge or the corkboard; A5 if you carry it in a folder or in your bag.
- Ink: print in grayscale if the template has coloured backgrounds. You save ink and can colour in whatever you like afterwards.
- Scale: tick the fit-to-page option so the edges don't get cut off.
- Reusing: if your week is almost always the same, put the sheet in a plastic sleeve and write on it with a dry-erase marker.
Printing from your phone
Many home printers let you print straight from your phone over wifi. If you don't know how, we explain it in how to print from your phone step by step. In the Canvartin: Planner and Appointments app you can print A4 planners, blank or already filled in with whatever you have noted down, a handy option if you keep your appointments on your phone and want them on paper too.
Ideas for using the templates as a family
A shared schedule avoids a lot of repeated questions like "Is there swimming today?" or "Who's picking up our daughter?"
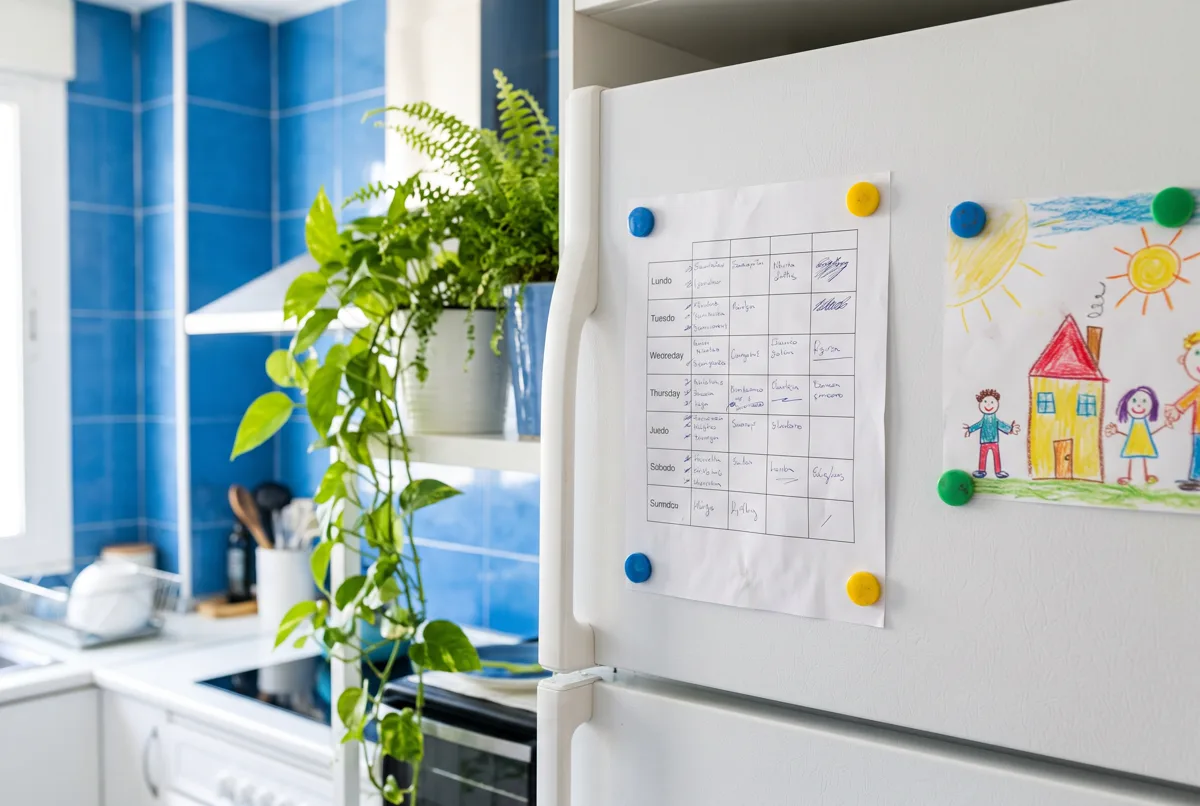
- One general schedule on the fridge with everyone's commitments: arrivals and departures, after-school activities, medical appointments and who takes care of what.
- One schedule per child in their bedroom, with drawings or stickers if they are small.
- A chore chart with boxes to tick off what's done. Children are motivated by seeing their column fill up.
- A row for meals in the weekly schedule: that way you see at a glance what you're having for dinner each day and do the food shop with a clearer head.
The trick is for everyone to know where to look. If the schedule is somewhere hard to see, nobody checks it.
Common mistakes when using printed schedules
- Filling every minute. A schedule with no gaps breaks at the first unexpected event. Leave some margin.
- Choosing a template that's too detailed. If the boxes are tiny, you'll end up not writing anything.
- Not reviewing it. A schedule from three weeks ago stuck on the fridge no longer organises anything, it just decorates.
- Trying to change everything at once. Start by organising just one thing, such as mornings or household chores, and expand when it works for you.
- Forgetting to rest. If you don't write it down, free time gets eaten up by something else.
Frequently asked questions
What size is best for a printable schedule?
A4 is the most practical for home because it's easy to read from a distance. A5 is better for carrying in a planner or folder.
Is a schedule by hours or by blocks better?
By hours if you have appointments or classes at fixed times. By blocks (morning, afternoon, night) if your day is more flexible.
How often do I need to fill in a new template?
The usual rhythm is once a week, for example on Sunday. If your routine hardly changes, you can reuse the same sheet in a plastic sleeve.
What paper should I use for writing with markers?
Paper of 100 to 120 gsm, so the ink doesn't bleed through and the sheet doesn't wrinkle.
Can I make a schedule template without any software?
Yes. With a ruler, a pencil and squared paper you can draw a table of days and hours in a few minutes.